Galaxy Series LinuxCNC Configuration
From PROBOTIX :: wiki
Welcome to the new Galaxy Series Universal Configurator. This script will reconfigure the LinuxCNC software to add or remove features on your machine and has additional functionality to manage the most common problems in the hopes of maximizing uptime on your machine. This script will also be used to install software updates when they are released. Follow the on screen prompts carefully, but do not worry if you make a mistake as you can simply re-run the script to correct any errors. Only run this script when you can afford to have the machine go down temporarily, as you may need to call us if anything goes wrong. We have tested this script several hundred times on as many machines as we could, but as with any software update, results can go not as you planned.
Download this file: Media:Probotix.zip
Copy the probotix.zip file to a freshly formatted 8GB or larger USB thumb drive. Make sure the thumb drive is formatted Fat32 - NTFS formatted drives will not work.
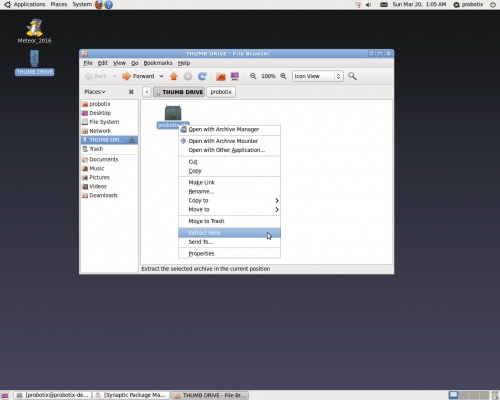
Insert the thumb drive into the LinuxCNC PC. After a few seconds a window will pop up displaying the contents of the thumb drive. Right click on the probootix.zip file and choose the "Extract Here" option.
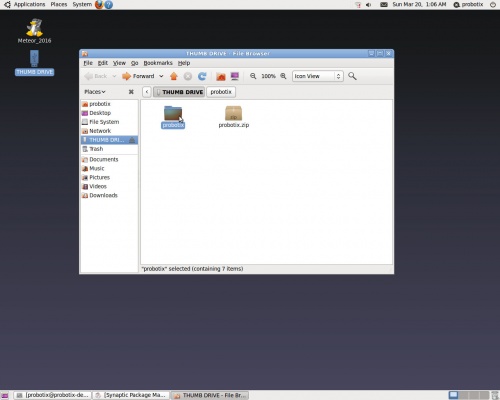
This creates a folder called 'probotix'. Move into the probotix folder by double-clicking it.
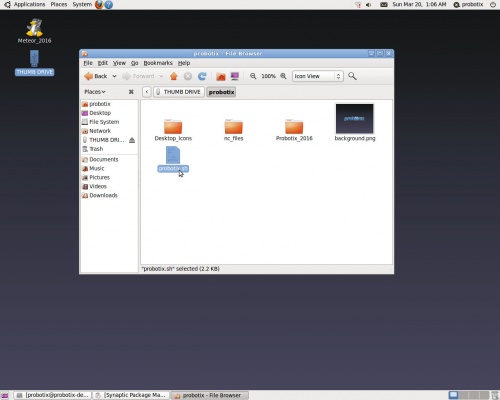
In this folder you will see a file called 'probotix.sh'. Launch that file by double-clicking it.
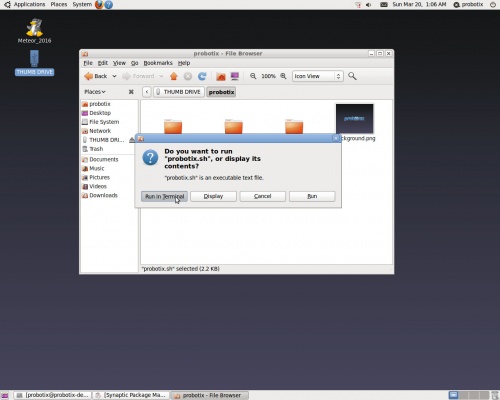
A dialog will pop up and ask you what you want to do with the file. Chose the "Run in Terminal" option.
Follow the onscreen prompts (if any).
Step 1: Enter your order number.
Step 2: Choose which machine you have.
Step 3: Do you want the machine to run in inches or mm?
Step 4: Do you have the older Roton (black drive nuts) or the newer Helix (blue drive nuts) ACME screws?
Step 5: Do you have the older Probostep (uni-polar) or newer MondoStep (bi-polar) drivers?
Step 6: Do you use a router or one of the 80mm VFD spindles?
Step 7: Do you use the gamepad jog controller?
Step 8: Do you use the ATLaS tool sensor, the Z-puck, neither or both? If you use the Z-puck, the next step will ask you for the height of your puck. Measure your puck with a set of calipers and enter the inch or mm measurement here.
Step 9: Accept the default parallel port addressing.
Step 10: Do you use the rotary axis?
Step 11: On this step you can swap a motor to the a-xis header. You can do this if you have a driver failure to get back up and running in a hurry while waiting on replacement parts. You will lose use of the rotary when configured like this.
Step 12: If you are having intermittent limit switch issues from faulty switches or electrical noise, you can configure the machine to use soft limits only.


